7 Best Laser Welding Parameters How to Set Them?

Time:2026-10-10 Author:Amelia
0%

Setting laser welding parameters is not a guessing game. It is a controlled balance between laser power, welding speed, focus position, beam diameter, shielding gas, and material thickness. Each setting changes the weld pool, penetration depth, heat-affected zone, and final appearance. A bright surface can still hide incomplete fusion.

For engineers learning how to set parameters for laser welding, practical observation matters as much as machine data. Start with the material grade, joint design, and thickness. Then adjust power and travel speed through small, documented trials. Watch the melt pool closely. It should remain stable, narrow, and centered along the joint. Excessive power may create undercut, spatter, or burn-through. Excessive speed may leave weak penetration. Small errors become obvious on thin stainless steel edges.

Laser-processing authority John C. Ion has emphasized, “The laser is a tool, not a process.” That reminder is useful. The machine cannot replace process understanding. Parameter charts offer a starting point, not a final answer. Real production may differ because of surface oxidation, clamping gaps, lens condition, or changing reflectivity. I have seen settings that worked perfectly on clean coupons fail after minor joint contamination. That was not a dramatic failure, but it exposed a weak assumption.

This guide examines seven essential laser welding parameters and explains how to set them with measurable checks. Record every trial, inspect cross-sections, and question results that look too easy. Reliable welding comes from repeatable evidence, not attractive weld beads alone.
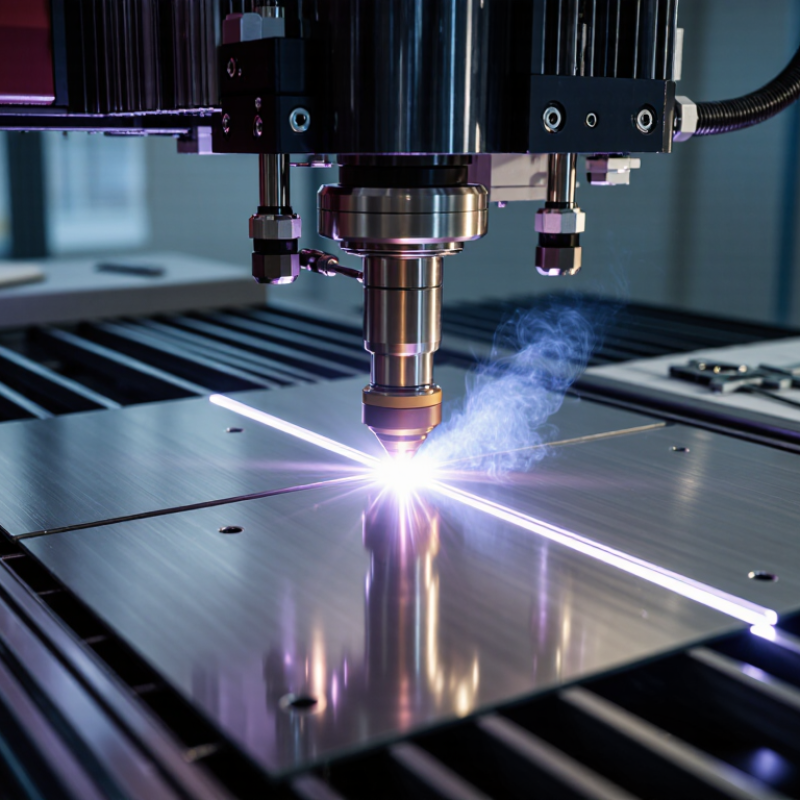
7 Best Laser Welding Parameters How to Set Them?

Understanding the Seven Core Laser Welding Parameters

Laser welding quality depends on seven core parameters: laser power, travel speed, focal position, spot diameter, pulse duration, pulse frequency, and shielding gas flow. Each one changes the weld pool in a visible way. Higher power can improve penetration, but excessive heat may create undercut or distortion. Faster travel reduces heat input, although the joint may become narrow and weak. Focal position controls energy concentration. A focus slightly below the surface often helps thicker sections, but the best position depends on material and joint design.

Spot diameter affects energy density and bead width. A smaller spot produces concentrated heating, while a larger spot can support smoother seams. Pulse duration controls how long each energy burst acts on the metal. Pulse frequency determines how closely those bursts overlap. Too little overlap creates a dotted bead. Shielding gas flow protects the molten pool from oxidation, yet excessive flow can cause turbulence and draw air into the weld.

In practice, I adjust only one parameter at a time and inspect cross-sections, not just the surface. Start with small test coupons. Record power, speed, focus, and gas flow beside every sample. A clean bead can still hide poor fusion. That mistake is easy to make.

Material thickness, reflectivity, fit-up, and clamping also change the result. Published settings provide direction, not certainty. Even experienced operators sometimes chase appearance instead of penetration, so destructive testing remains valuable when safety and structural performance matter.

How to Set Laser Power and Welding Speed

How to Set Laser Power and Welding Speed

Laser power and welding speed work as a pair. Increasing power adds heat, while increasing speed reduces heat input. In practice, I begin with the material thickness, joint design, and required penetration. A thin stainless steel sheet may need moderate power and steady travel, while a thicker joint demands deeper energy delivery. Do not copy a setting blindly. Small changes in surface condition can alter the weld.

A useful starting point is energy per unit length: power divided by speed. For example, raising power from 800 W to 1,000 W may permit faster travel, but it can also enlarge the heat-affected zone. Excessive speed may create incomplete fusion, narrow beads, or occasional porosity. Excessive power may cause spatter, undercut, or burn-through. I recommend testing several short welds on matching scrap. Check penetration from a cross-section, not only the shiny surface. A smooth bead can still hide weak fusion.

Tips: Change one parameter at a time. Keep focal position, shielding gas flow, and fit-up consistent during testing. Record every trial, including power, speed, material thickness, and visual results. Start conservatively, then increase speed until penetration begins to weaken. That point is useful, but not always the production setting. I have found that a slightly slower weld often gives better reliability, even when it looks less efficient. Machine calibration and operator technique also deserve regular verification.

7 Best Laser Welding Parameters: Power, Speed and Line Energy

Practical starting points for a 2 mm stainless-steel butt joint. Line energy is calculated as laser power ÷ welding speed.

Increasing laser power generally increases penetration, while increasing welding speed reduces heat input per millimeter. These values are starting conditions only; final settings should be verified through bead shape, penetration, porosity, distortion and tensile testing.

Choosing Spot Size, Beam Focus, and Focal Position

Choosing spot size, beam focus, and focal position strongly affects laser weld penetration, width, and stability. A small spot concentrates energy and creates deeper penetration, but it also exposes gaps, contamination, and alignment errors. For thin stainless steel, a 0.2–0.5 mm spot often provides controlled heat input. Thicker sections may need a 0.6–1.0 mm spot for a wider, more forgiving melt pool.

Set the beam focus carefully. Begin with the manufacturer’s nominal focal plane, then weld short test lines on matching material. I usually inspect bead width, surface color, and cross-sections rather than trusting appearance alone. A focal position slightly below the surface can improve penetration in some joints. However, too much defocus spreads energy and may produce shallow fusion or excessive spatter. Small changes matter.

Use a repeatable gauge to check focal height before each batch. A variation of only 0.5 mm can change the weld profile, especially with a fine spot. Joint fit-up must be measured too. A perfect focus cannot repair a large gap. I have sometimes selected a smaller spot for precision, then found the process too sensitive during production. That mistake is useful. Record the spot size, focus offset, power, speed, and cross-section results. Build a narrow process window, but keep questioning it when material thickness or surface condition changes.

Adjusting Pulse, Shielding Gas, and Material Alignment

7 Best Laser Welding Parameters: How to Set Them?

Pulse settings control heat input, penetration, and the size of the heat-affected zone. Start with a moderate peak power and short pulse duration. Increase pulse energy gradually when the joint shows incomplete penetration. Reduce it when the surface becomes rough, dark, or excessively wide. A stable weld pool should look bright and controlled, not violently spattered. I once increased frequency too quickly and produced overlapping heat marks. That shortcut reduced joint consistency.

Shielding gas protects the molten pool from oxygen and moisture. Set a steady flow according to the material, nozzle design, and working distance. Excessive flow can create turbulence and draw air into the weld. Insufficient flow may cause oxidation, porosity, or dull surface coloring. Keep the nozzle close, but avoid touching the workpiece. Material alignment matters equally. Clean both surfaces, remove gaps, and secure the parts firmly. Even a small step between sheets can redirect the beam and weaken penetration.

Tips: Run test coupons before production. Record power, pulse width, frequency, gas flow, focus position, and travel speed. Check the bead under magnification when possible. Change one parameter at a time. If results remain inconsistent, question the fixture, lens cleanliness, and material thickness before increasing power. Settings are not universal. Validate them through repeatable tests and documented inspection.

Testing, Monitoring, and Optimizing Welding Results

Laser welding quality depends on seven adjustable parameters: power, travel speed, focal position, spot size, pulse duration, pulse frequency, and shielding gas flow. I set them together, not in isolation. A small power increase can deepen penetration, but excessive heat may create undercut, distortion, or a wider heat-affected zone. Travel speed needs equal attention. Fast movement can leave lack of fusion, while slow movement may burn through thin material.

Testing should begin with clean, labeled sample coupons. I change one parameter at a time and record weld width, penetration depth, surface color, and visible defects.

Cross-section checks reveal problems that surface inspection misses. A camera or thermal sensor can monitor brightness and heat patterns during production. Stable signals usually indicate stable energy delivery, but they do not replace physical inspection.

Keep the setup traceable. Record material thickness, joint gap, focal position, gas flow, and environmental conditions. My first trial was too hot. The weld looked strong, but its edges were brittle after sectioning. That result changed my procedure: I now use smaller parameter steps and allow cooling between tests. Imperfect samples are useful evidence. Operators should also inspect nozzle alignment and lens cleanliness, because simple contamination can imitate a poor parameter choice. Any adjustment needs a repeatable test. Otherwise, optimization becomes guesswork.

FAQS

How does spot size affect laser weld penetration?

A smaller spot concentrates energy and usually creates deeper penetration. For thin stainless steel, try 0.2–0.5 mm. Thicker sections may need 0.6–1.0 mm. Small spots are less forgiving of gaps and alignment errors.

Where should the beam focal position be set?

Begin at the recommended focal plane. Then weld short test lines on matching material. A focus slightly below the surface may improve penetration. Too much defocus can cause shallow fusion and spatter.

How can focal height remain consistent during production?

Use a repeatable gauge before each batch.

What pulse settings support a stable weld pool?

Start with moderate peak power and a short pulse duration. Increase pulse energy gradually when penetration is incomplete. Reduce it when the bead becomes dark, rough, or too wide. The pool should look bright and controlled.

How much shielding gas should be used?

Set a steady flow based on material, nozzle design, and working distance. Excessive flow can create turbulence and draw air inward. Low flow may cause oxidation, porosity, or dull coloring. Keep the nozzle close without touching the workpiece.

Why does material alignment matter so much?

Clean both surfaces and secure them firmly. Even a small step between sheets can redirect the beam. Large gaps can reduce penetration and consistency. Fit-up is easy to underestimate.

Which parameters should be recorded during testing?

Record power, travel speed, spot size, pulse duration, and frequency. Also record focal position, gas flow, material thickness, and joint gap. Label every sample coupon. Memory is unreliable.

How should weld quality be inspected?

Check bead width, surface color, and visible defects. Cross-sections reveal incomplete fusion that surface inspection can miss. Magnification can expose small pores or rough edges. Visual appearance alone is not enough.

What should be changed when weld results remain inconsistent?

Change one parameter at a time and use smaller steps. Inspect the fixture, lens cleanliness, nozzle alignment, and material thickness. Allow samples to cool between tests. My first trial was too hot.

Are welding settings universal for every material and joint?

No. Settings depend on thickness, surface condition, joint fit-up, and equipment geometry. Validate them with repeatable test coupons. A narrow process window can still fail after material changes. Keep questioning it.

Conclusion

This guide explains how to set parameters for laser welding by focusing on seven core factors: laser power, welding speed, spot size, beam focus, focal position, pulse settings, and shielding gas. It shows how power and travel speed work together to control penetration, heat input, and weld appearance, while spot size and focal position influence energy concentration and joint accuracy. Proper material alignment is also essential for maintaining a stable weld and preventing gaps or uneven penetration.

The article further highlights the importance of systematic testing and monitoring. Operators can begin with balanced settings, create sample welds, and evaluate bead shape, penetration, strength, and surface quality. By adjusting one parameter at a time and recording the results, they can identify the most suitable combination for different materials and joint designs. Continuous observation during production helps maintain consistency and supports efficient optimization.

Amelia

Amelia

Amelia is a seasoned marketing professional with a wealth of expertise in our company’s core offerings. With an unwavering passion for driving growth and innovation, she plays a pivotal role in shaping our marketing strategies and enhancing brand visibility. A key aspect of her responsibilities......